
Google の Firebase を使ったPush通知を Defold で実装する方法です。
手順
Firebase プロジェクトの設定
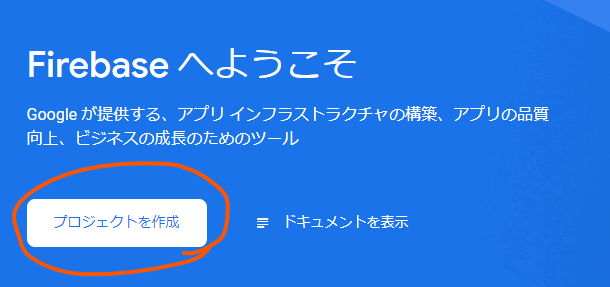
https://console.firebase.google.com/ へアクセスしプロジェクトを作成する。
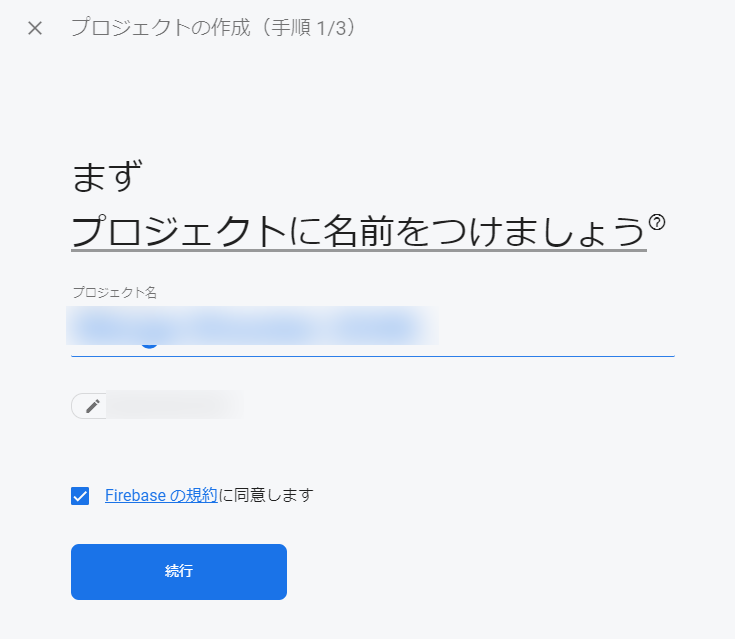
プロジェクト名に名前を付けて次へ続行します。
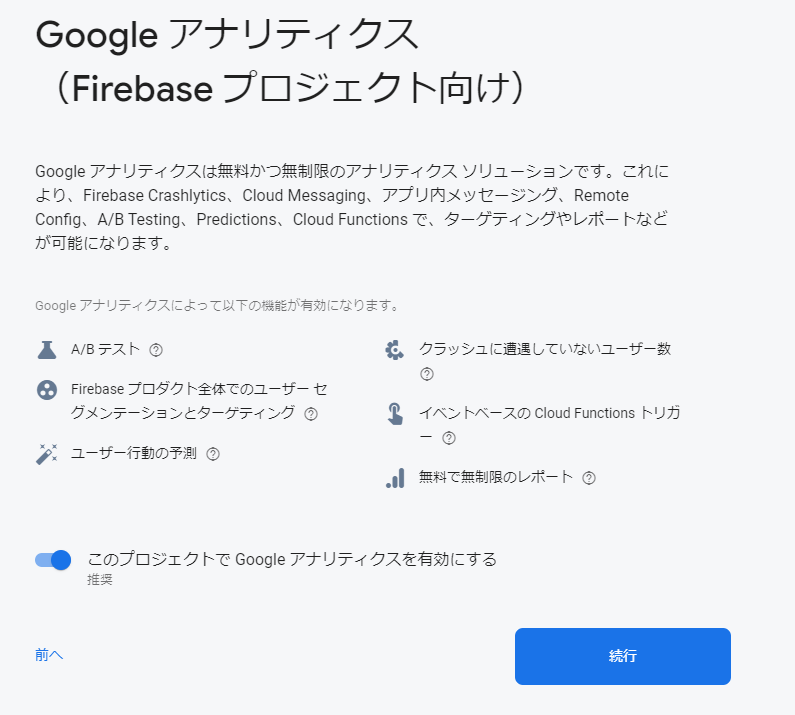
このプロジェクトでGoogle アナリティクスを有効にするか否かを聞かれます。特に理由が無ければ有効にしたまま続行します。
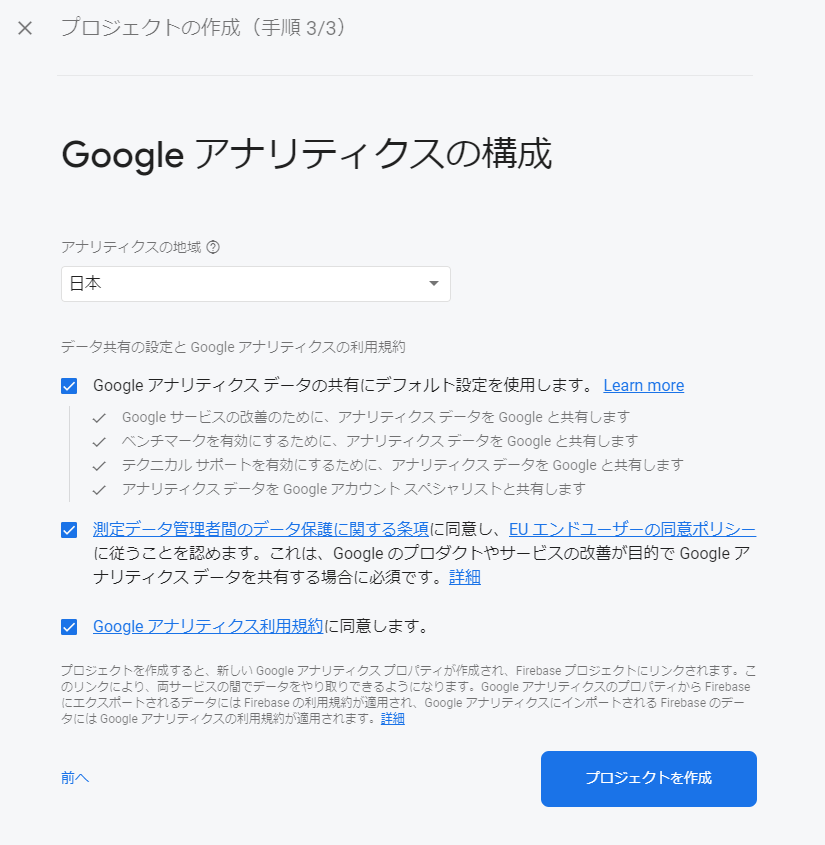
アナリティクスの地域を設定して、各種利用規約に同意、プロジェクトを作成します。
しばらく待つとプロジェクトの準備が完了します。それまでは画面右下の彼と同様に一息つくと良いかもしれません。

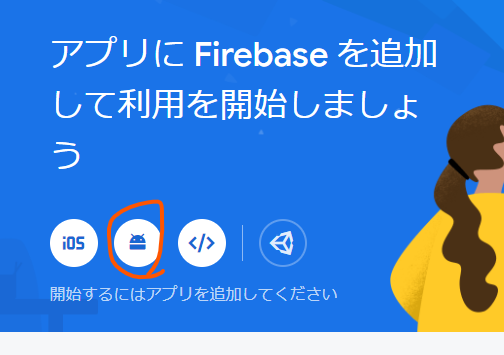
準備が出来たらアプリにFirebase を追加します。今回はAndroid デバイスに追加します。画面のAndroidのロゴを選択します。
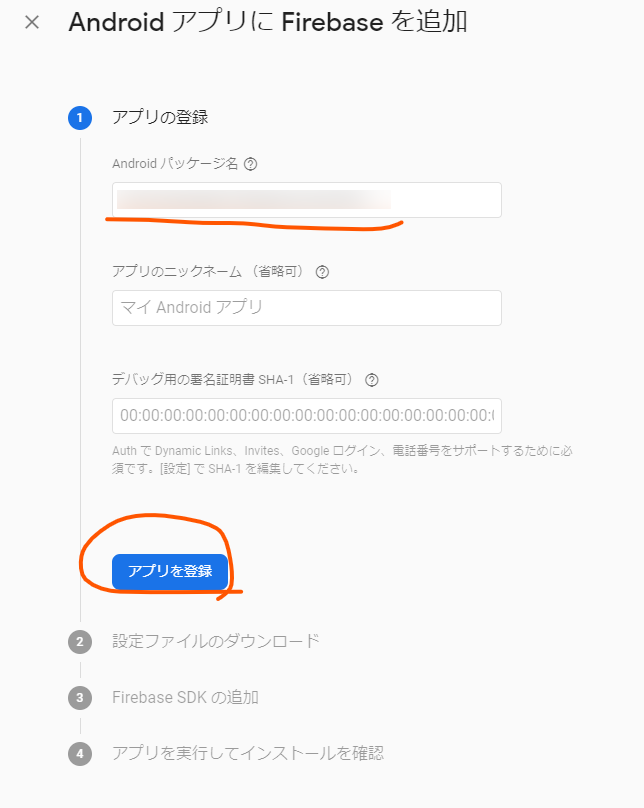
アプリを登録します。アプリのパッケージ名を入力し「アプリを登録」します。他は省略可です。
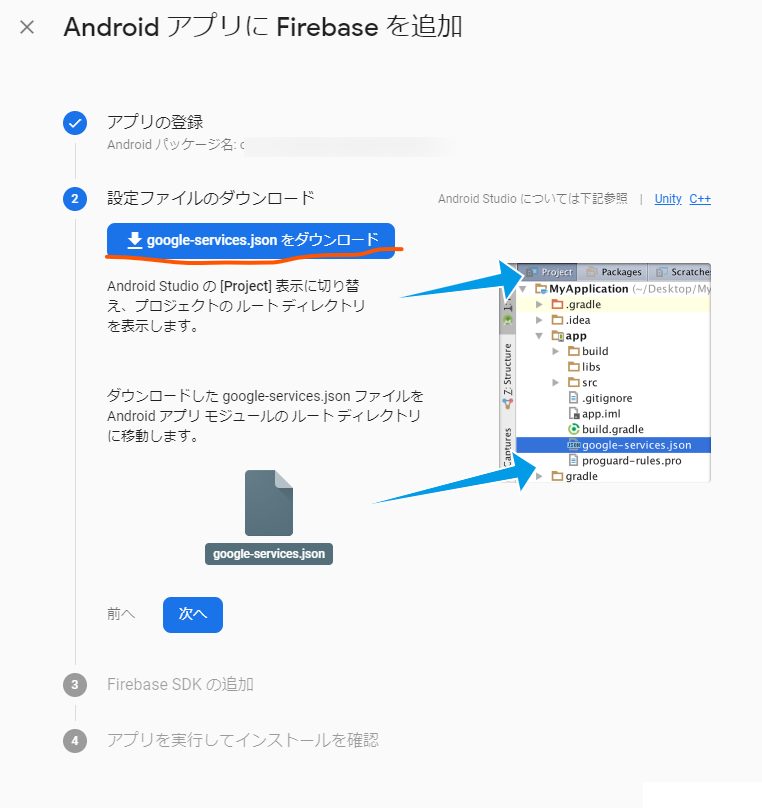
「AndroidアプリにFirebase を追加」画面が表示されたら、パッケージ名を確認した後、設定ファイル “google-services.json” をダウンロードします。
次へ進むとFirebase SDK の追加画面になりますが何もせず次へ進みます。
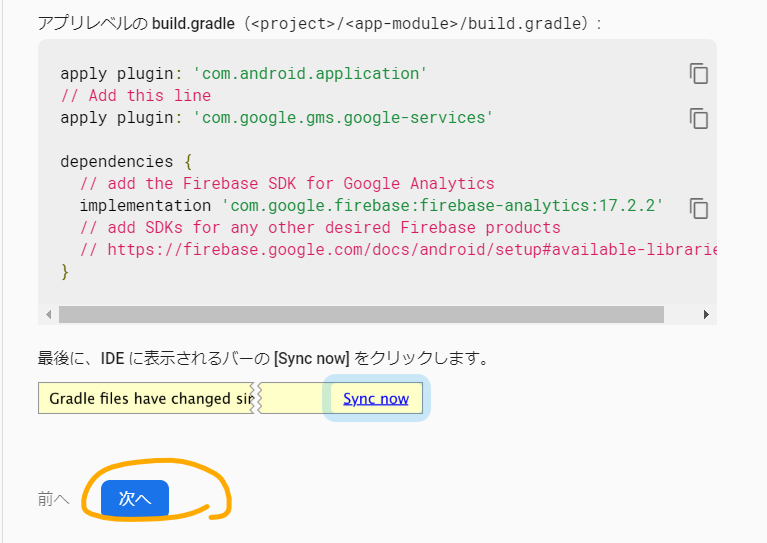
「Android アプリにFirebase を追加」画面になりますがこちらも「このステップをスキップ」します。
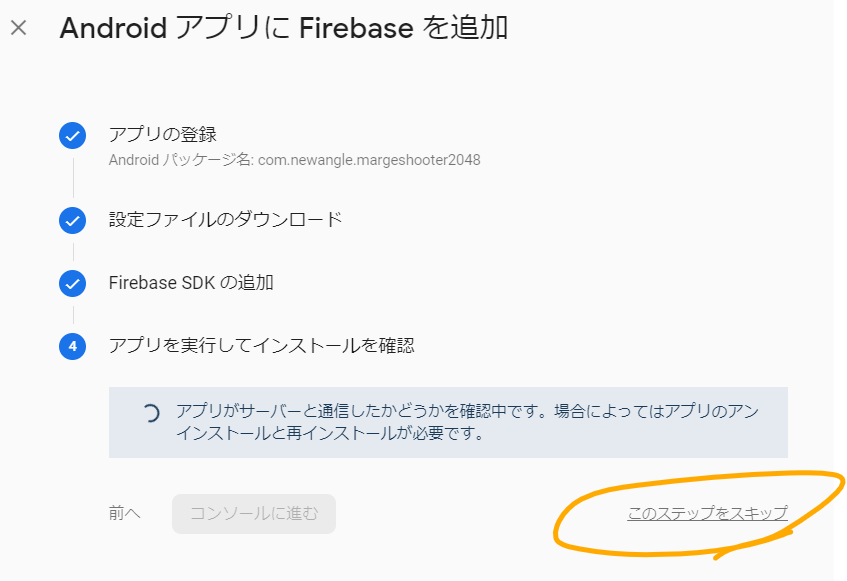
これで準備はOKです。
Defold Engine の設定
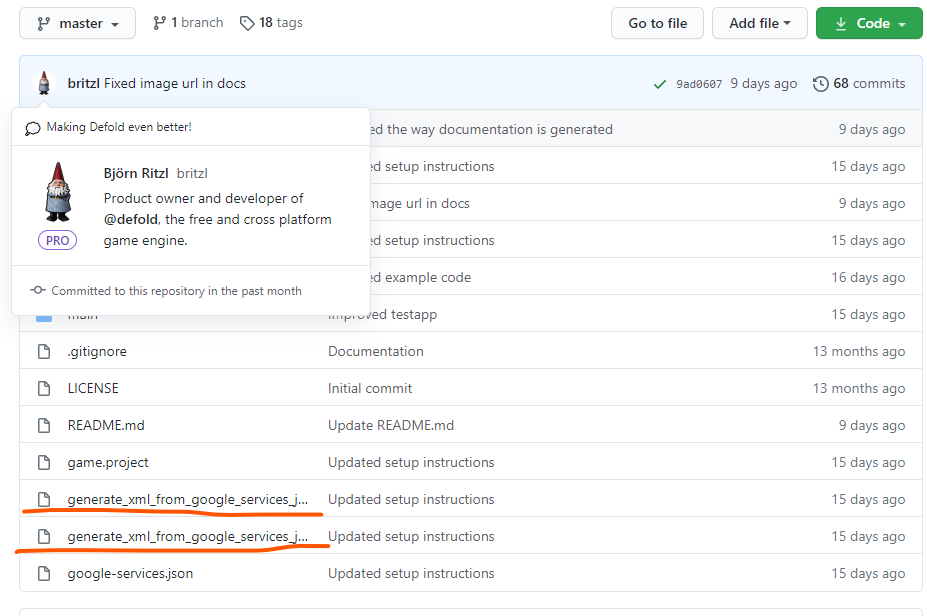
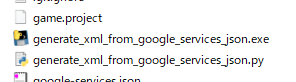
まずプロジェクトに Push アセットを追加します。追加できたら別途 https://github.com/defold/extension-push こちらから “generate_xml_from_google_services_json.exe” と “generate_xml_from_google_services_json.py” もダウンロードしておき、プロジェクトのルートフォルダへコピーしておきます。
google-services.json を google-services.xml へ変換する
さきほど配置した generate_xml_from_google_services_json.exe を使って google-services.json から google-services.xml を作成します。
xml ファイルはコマンドラインから叩くだけで作成できます。Windows環境のサンプルはこんな感じです。
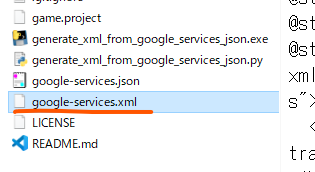
.\generate_xml_from_google_services_json.exe -i google-services.json -o google-services.xml正常終了すると json ファイルと同じフォルダにxml ファイルが作成されます。
google-services.xml ファイルを配置する
google-services.xml の配置場所を変更します。フォルダが無い場合は作成します。
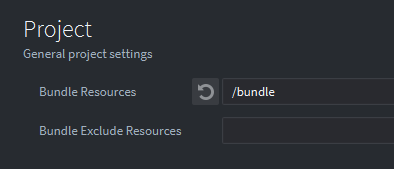
<プロジェクトのルート>\bundle\android\res\values\google-services.xmlBundle Resources の設定
配置したxml ファイルをビルドに含めるため Bundle Resources にパスを設定します。
これでDefold Engine 側の設定は完了です。
Push 通知してみる
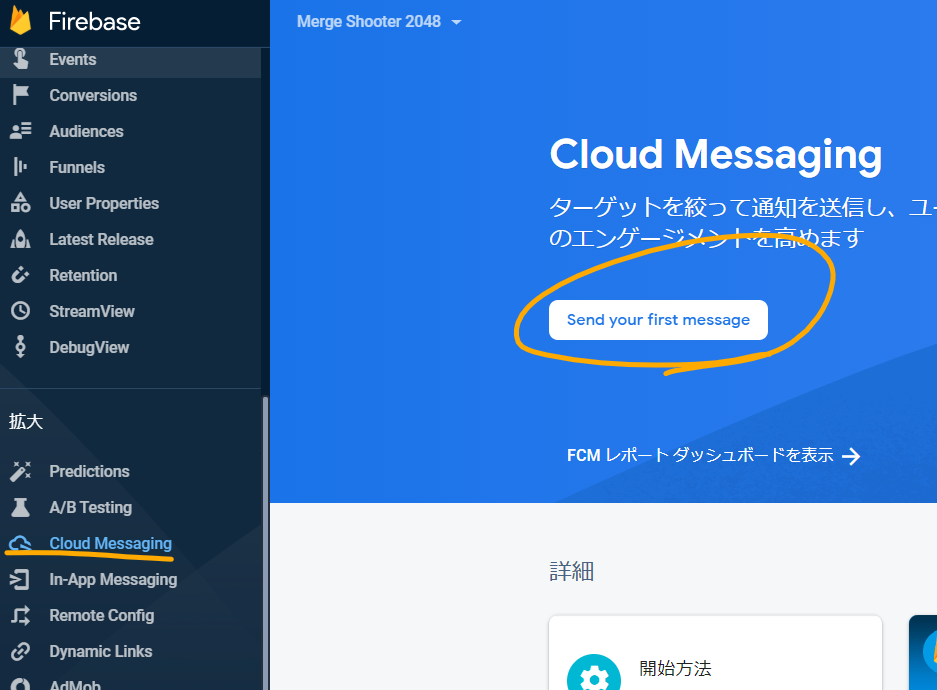
Firebase へ戻りメニューから [Cloud Messaging] を開きます。開いたら [Send your first message]を選択してメッセージを送信する準備を行います。
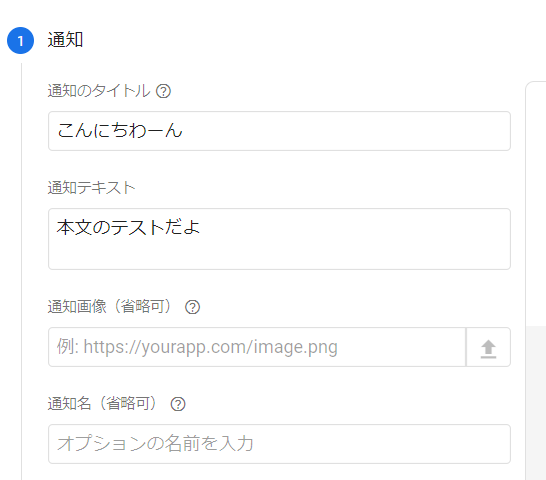
あとは手順に従ってパラメータを入力します。

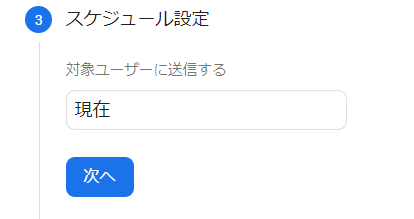
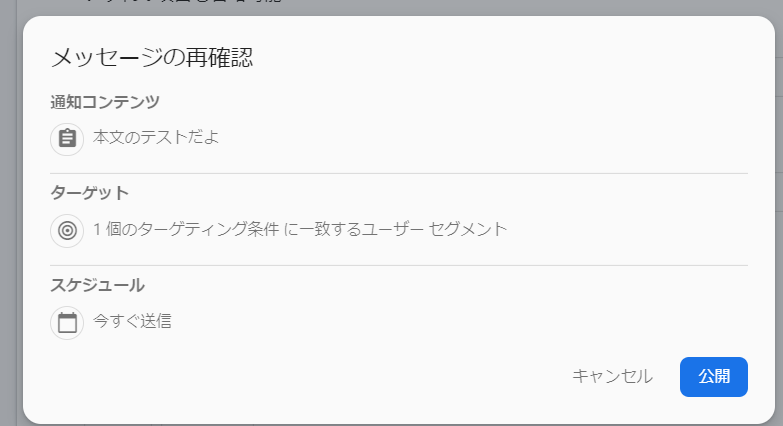
最後まで進めて「確認」するとメッセージの送信確認ポップアップが表示されますので「公開」します。メッセージが端末へ送信されます。
結果
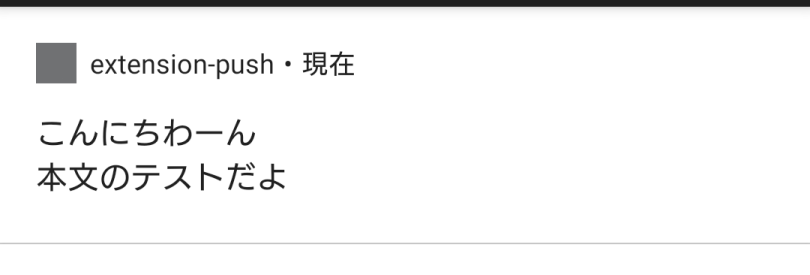
正常に動作しました。