Windows 10 で VSCode 上に Python の実行環境を構築するの手順です。Bash を Git のBash に差し替えて利用する場合の手順です。
手順
各種ツールのインストール
VSCode の設定
Bash の設定
- VSCode を起動する。
- [File] → [Preferences] → [Settings] を開き検索ウインドウから[terminal.integrated.shell.windows] と検索。settings.json を開きます。
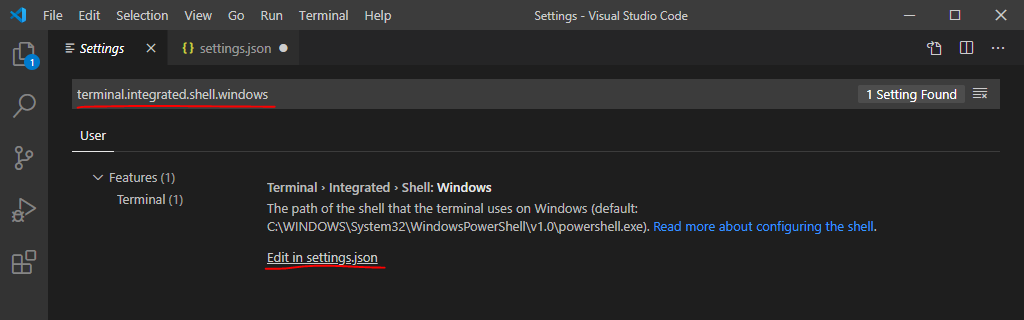
- terminal.integrated.shell.windows にGit の bash.exe のPath を設定して、bash コマンドが使える状態にしておきます。
{
"workbench.startupEditor": "newUntitledFile",
"window.zoomLevel": 0,
"terminal.integrated.shell.windows": "C:\\Program Files\\Git\\bin\\bash.exe"
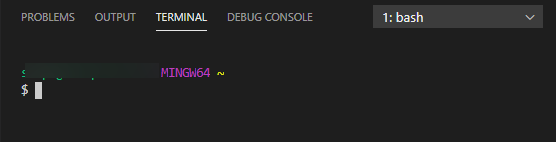
}VSCode を再起動すると Terminal 画面が bash のものに変わっていることが確認できます。
Python 拡張機能のインストール
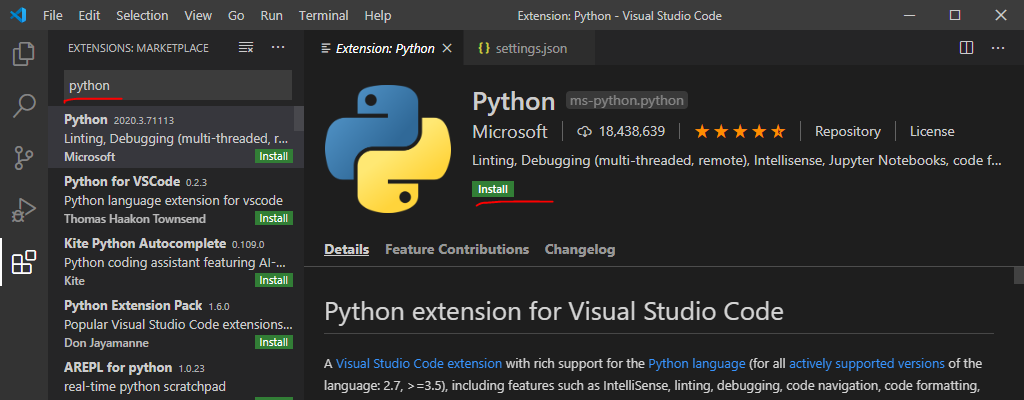
- [File] → [Preferences] → [Extensions] を選択し拡張機能 Python をインストールします。
インストールできたら、python のファイルを新規作成し、コードを書きます。
print("Hello! Python!!!")コードを書いていると画面右下に拡張機能[pylint] がインストールされていませんと出るのでインストールします。

さら[autopep8] がインストールされていませんと出るので[Yes] でインストールします。

動作確認。コードを実行してみる
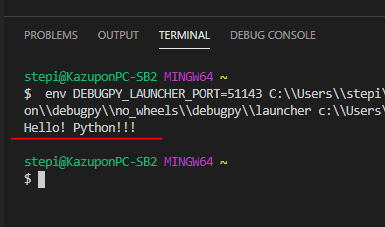
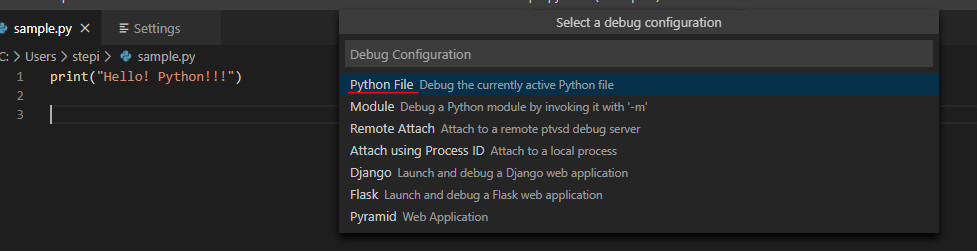
- さきほどのsample.py を実行してみます。sample.py を開き F5 で実行します。[Select a debug configuration]と出てきた場合は[Python File]を選択します。
結果
Terminal に実行結果が出力されました。